How to Install Backer Rod
Are you installing backer rod on your log home? It’s a project that you can take on yourself.
Here’s a how-to guide on backer rod installation for your log home.
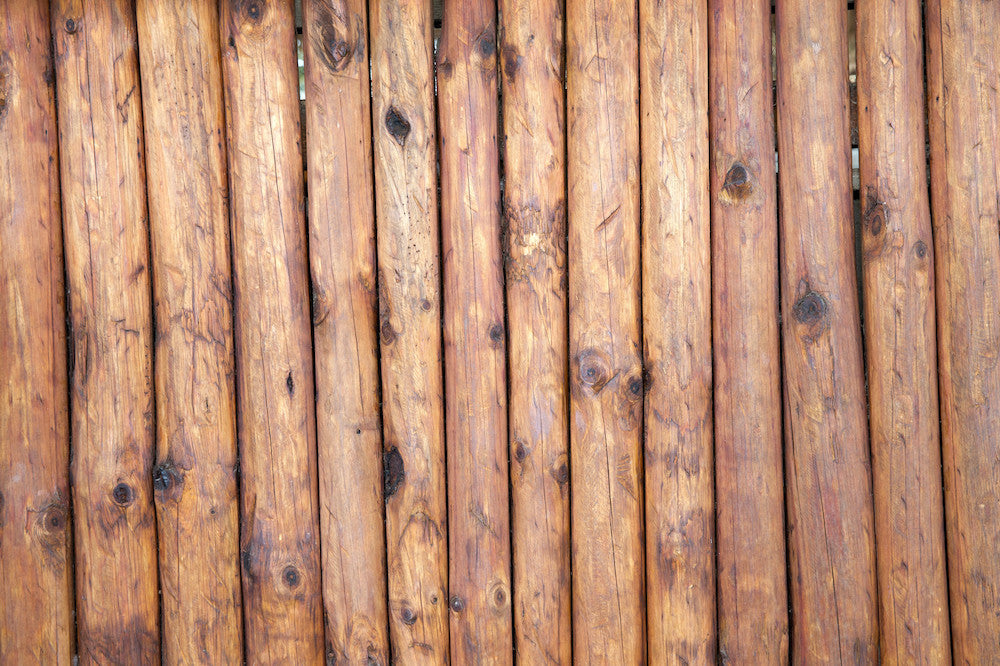
What Is Backer Rod?
Before you begin, it’s a good idea to understand what backer rod is and what it does for your log home.
Backer rod is a tube-shaped polyethylene and polypropylene material. It varies in size, so you can find one for your needs. It’s installed in the chink joints prior to the actual chinking process.
It’s very flexible and can be compressed to make installation an easier process. It fills joints between building materials.
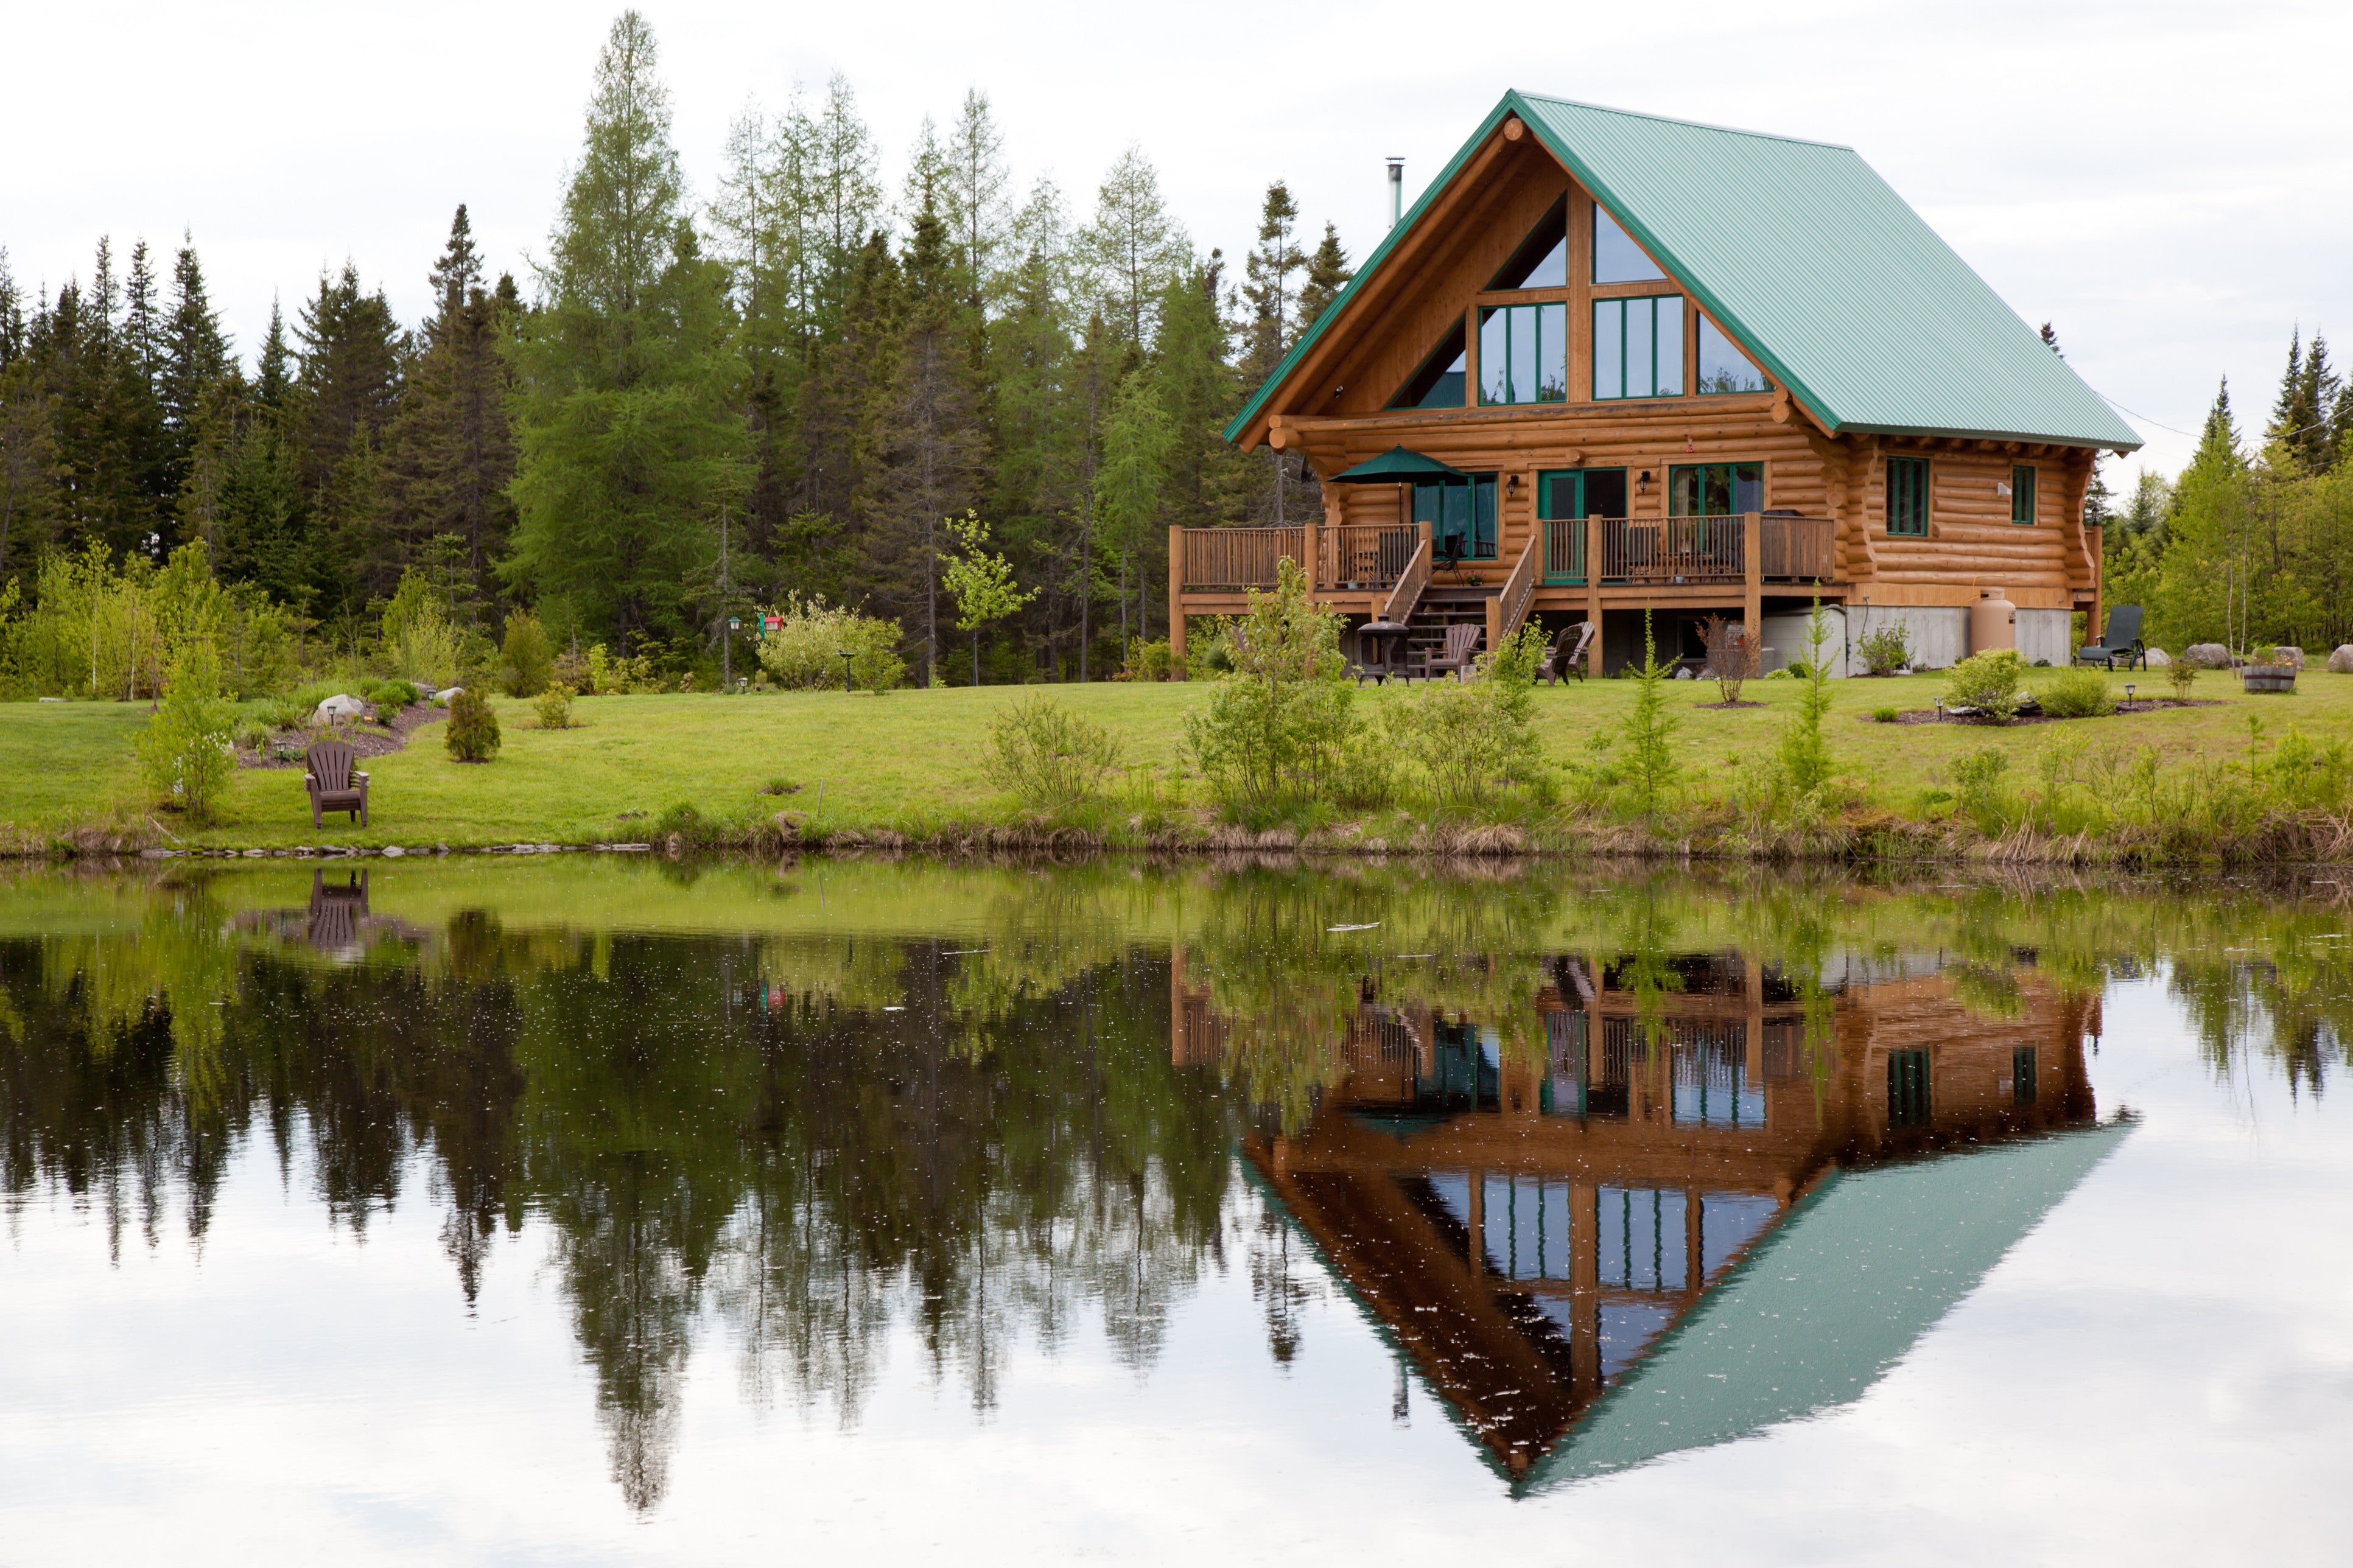
The Benefits of Backer Rod
Proper backer rod and chinking installation can significantly reduce the heat loss of a log wall, as well as in and around window frames — potentially saving you a ton on utility bills.
How to Install Backer Rod
Place the pieces of backer rod on a flat box, table or rag.
Using a high-tack spray adhesive, spray the back side of the backer rod. DO NOT SPRAY THE LOGS.
Let the adhesive dry until tacky then carefully place the backer rod into the log joint and press firmly until it fits snugly between the logs.
Continue in this manner until all the joints are done.
Shop high-quality backer rod for your home now >