Step-by-Step Guide to Applying Log Home Stain
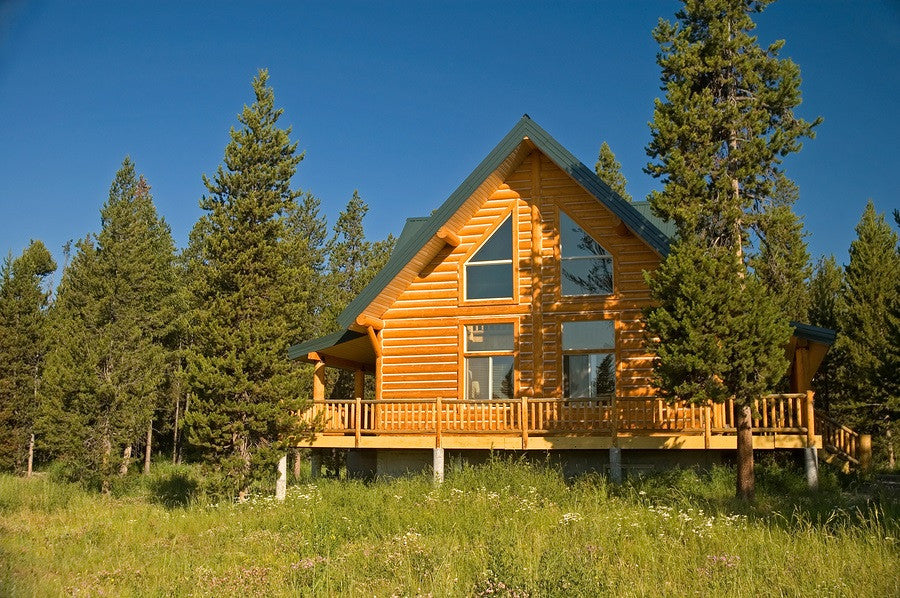
Your log home is your investment and it’s your oasis; and because of that you want to protect it from every potentially-damaging element that will attempt to rear its head. Destructive UV radiation, water damage, air infiltration, and insect and rodent intrusions must all be kept at bay. Log home maintenance is a continual regimen that simply must be adhered to in order to keep your ‘castle’ in pristine condition; and applying stain to your log home is only one part of the maintenance component.
Staining and sealing products offer highly-protective barriers against nature’s assaults, season after season, year after year. Because logs are an organic building material, deterioration is expected which is why high-quality staining products should be chosen to keep your home beautiful and protected for years. If you’re not sure if your log home is in need of staining, locate the most-weathered outside-wall and compare its appearance to a part of the exterior that has been the least-exposed to the elements. If there is a noticeable difference in color, be assured, it is time to stain.
If you are a do-it-yourselfer and will be taking on the challenge of applying log home stain to your home, you might be pleased to know that the process isn’t all that complicated, though it is time-intensive—oh, but think of the money you’ll save! A vital part of the staining treatment involves the preparation of the logs.
The steps are basic; so let’s get started:
Applying Log Home Stain – The Steps
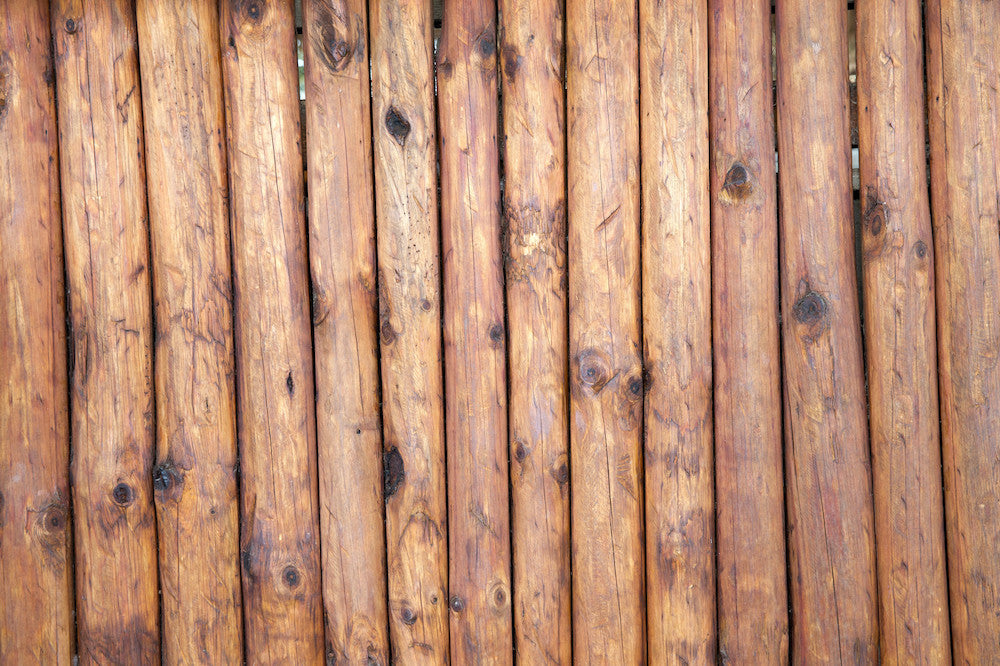
1) The Washing & Rinsing:
First and foremost, if your logs are new and have never been stained, be sure to apply a specialized log wash solution to remove any and all contaminants such as mill glaze and grime that are sure to be present. Stains will not properly adhere to un-cleaned logs. Other effective methods for removing mill glaze are cob or sand blasting.
Always apply cleaners starting at the bottom of the walls and moving upward because this will avoid streaking of the logs. You’ll do just the opposite during the rinsing phase--rinsing from the top and going downward. And speaking of rinsing, allow the cleansing agent to stand for 10-15 minutes before any power-washing or rinsing takes place. Logs should be allowed to dry for 3-7 days (depending on humidity and weather conditions) also, it’s crucial to avoid any products that contain high pH-levels such as chlorine bleach and TSP, also known as tri-sodium phosphate.
When pressure washers are used, certain rules apply: Use a lower setting to ensure the logs’ existing finish will not be compromised. The 1500 PSI option is safe; anything higher than thatcan damage the wood and create a fuzzy or hairy appearance. Cleansing solutions added to the power washer will optimize the removal of surface contaminants; and if possible, use hot water to wash and cold water to rinse. A garden hose works just fine for the rinsing step but it’s vital that the rinsing is thorough—all traces of cleaning agents must be removed!
Once the logs are completely dried, you can test your old finish’s adhesion capabilities. Gently, but firmly, apply a strip of masking tape onto part of the log’s surface. If the removed tape comes off clean, then staining will be you next step. If old-product particles have adhered to the tape, the previous finish will need to be stripped away by using a good-quality chemical stripper.
2) Inspecting the Chinking:
Definitely inspect the condition of your chinking and remove any part of it that is cracked or is receding; and use a putty knife or a caulking gun to apply.
3) Applying the Stain
Take the necessary precautions and cover surroundings with plastic drop-cloths, especially if an airless sprayer will be used for the application, though a brush can be used, as well. When using a brush, however, you might find that due to grooves, pits and uneven surfaces, you could find yourself going over and over to get the stain to cover evenly. If this happens, your best bet is to spray the stain. You’ll end up with more uniform results and, of course, it will dramatically cut you time. Test a small area of the wood to get an idea of how the stain will ‘take’. You may be surprised to see that the stain will go on darker or lighter than imagined. If the stain proves to be too dark, simply apply a clear primer prior to the staining to achieve a lighter appearance. The primer, however, must be oil and wax-free!
Typically, a minimum of two coats of stain should be applied but here’s an interesting thing to realize ahead of time: a pigmented coat of water repellent stain will last longer than clear. Additionally, if the logs are new with a moisture content of less than 19%, apply the recommended number of coats of stain the first year. If, however, the logs are green and have a moisture content of more than 19%, apply one coat of water-repellent stain the first year but follow up with additional coats the following year. And here’s one more thing to keep in mind: water-based stains cannot be used over oil-based stains! When in doubt, use an oil-based product.
4) Adding The Top Coat
Logs, being the natural material they are, need to ‘breath’; and for this reason, always avoid any products that would prevent breathability— varnishes, shellacs and polyurethanes should not be used. By applying a clear topcoat, you’ll be adding a reflective, protective barrier for the stain and the wood—protection from UV rays, water and humidity is vital!
Kick back, relax and admire your efforts—if your log home could talk, it would thank you!